
For my jacket pattern I needed only three of the eight pieces copied from my Myanmar top (see Part 1). As I intended to bind the edges I ignored the seam allowances to the front edges and neck I had added to the copy. The original garment had facing but I intended to fully line my garment and did not require these. Here are the three pieces; as you can see (just about about as the photo is dark) the shape is very simple and has no darts.


Had the third piece come to light I would have used this to create the edge binding. However a trip to the Stitching, Sewing and Hobbycraft show at Excel in April provided the extras I need. At the Lili Fabrics stall I found a cotton print with toning shades of blue. Now the jacket is finished I think this looks better than the dabu print would have done and it is a thicker cotton so will make a harder wearing edge. At another stall I found the thin wadding I needed. I could not decide between the polyester type, which the stall holder advised, and the cotton wadding, which seemed to me to be more flexible, so I bought both. After pre-washing them I realised the stall holder was right.
For the lining I raided my stash and used some supple polyester in dark blue with a small white motif, a cheap buy from Walthamstow Market a couple of years ago. The lining was cut out using the same pattern as for the outside of the jacket.
I quilted the outer fabric body pieces before stitching the front and back pieces together at shoulder and side seams. When I bought my sewing machine it came with a walking foot and a quilt guide that can be attached to it. I had not used the guide before and was delighted to discover that it made stitching parallel lines so easy.

Once you have stitched the first line you set the quilt guide at the width apart that you wish your next stitching line to be and place it on your first line of stitching. If you make sure the guide follows that line as you machine then you will have a perfectly parallel line of stitching next to it. Without this I would have had to measure out and mark each of the lines so it was a time saver as well as an accuracy aid.

The original top had two pockets but I did not want to disrupt the pattern on the exterior front so I put a pocket on the inside lining instead. Once the lining was made up I secured it on the inside to the inside of the jacket at the shoulder and side seams and then pinned and tacked lining, wadding and outer fabric together all round the outer edge to keep it in position when applying the binding. I played about with various widths for the edging and decided the effect that I liked best was to have the edging of the hems broader than that of the neck and front edgings. The edging was first machine stitched to the outer side of the jacket and then folded over to the right side and hand stitched to the lining.
I am so pleased with the end result. Here's the back view.

And the side view- (go back to Part 1 for the finished front view).
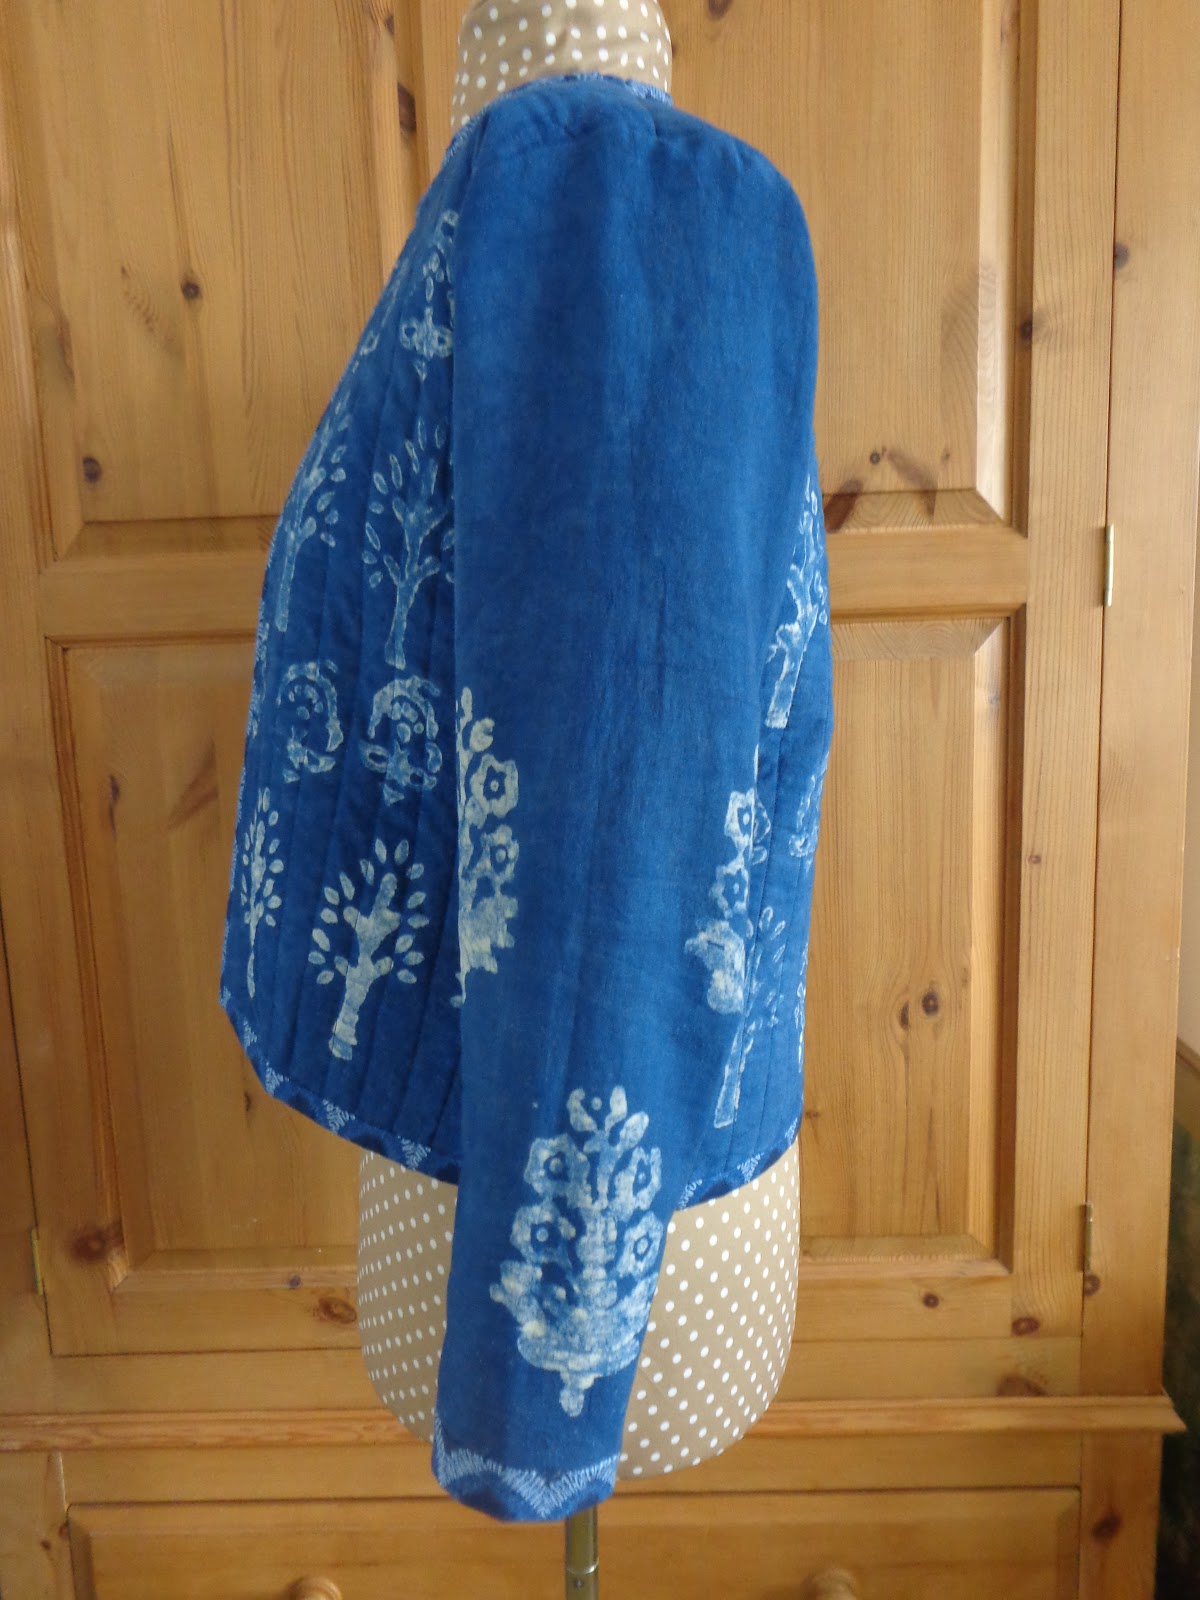
Someone made a comment to me that "It looks as comfortable as a cardigan but smarter" and it is.
No comments:
Post a Comment
Please leave a comment for the LDC member who wrote the post to know that people are reading their posts. You should also be able to comment now if you are not a registered user.